 Skip to content


Initial Inspection and Diagnostic Procedures
Visual and Physical Component Inspection
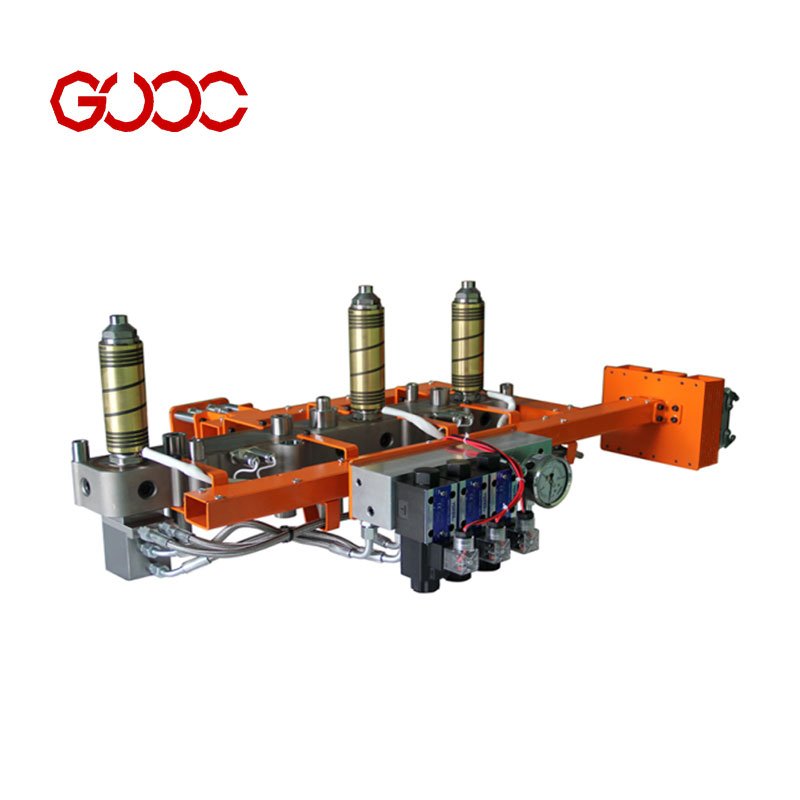
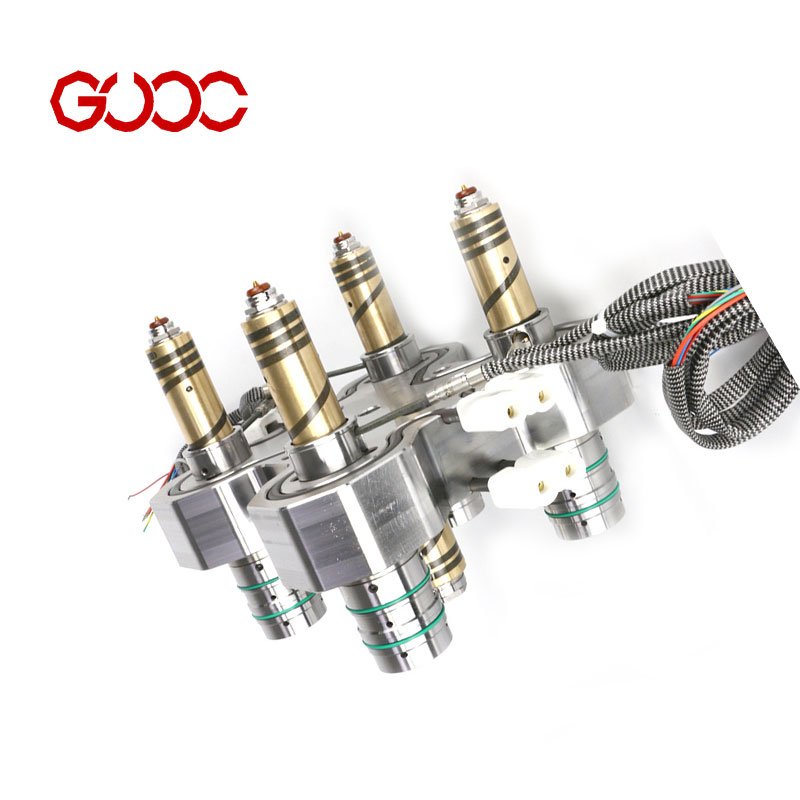
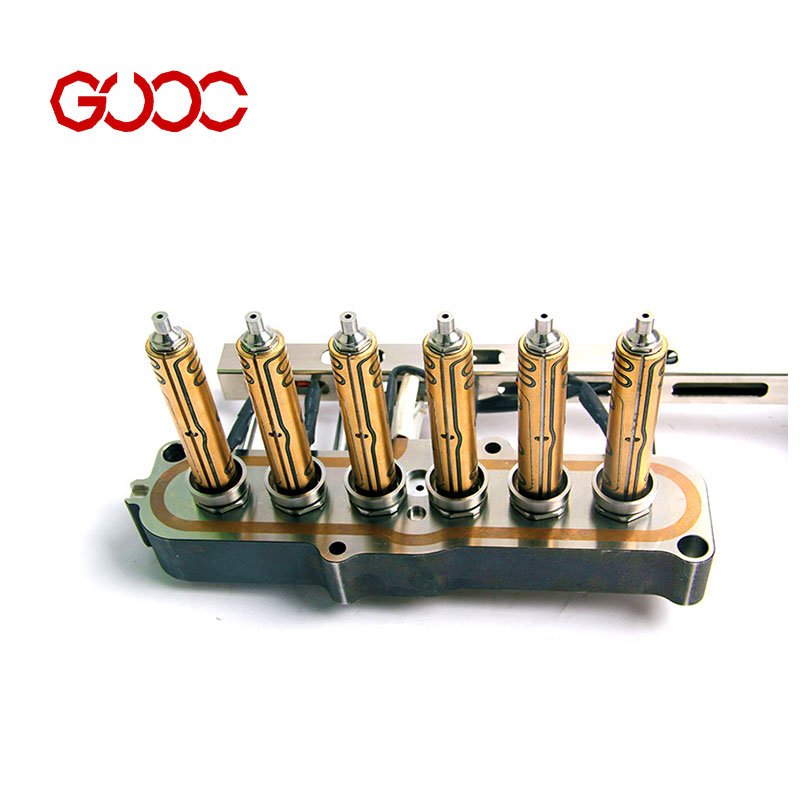
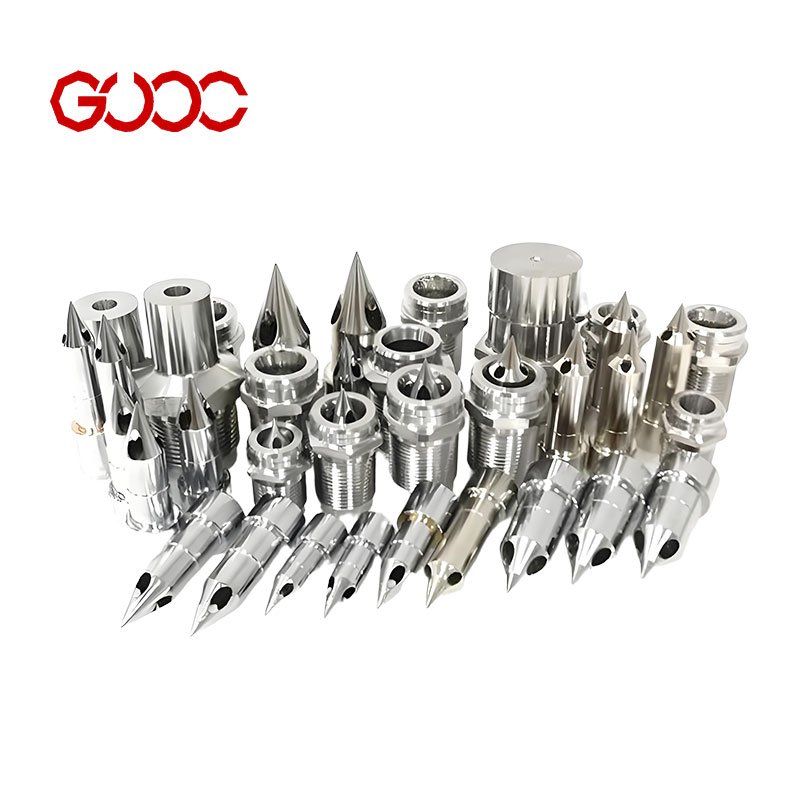
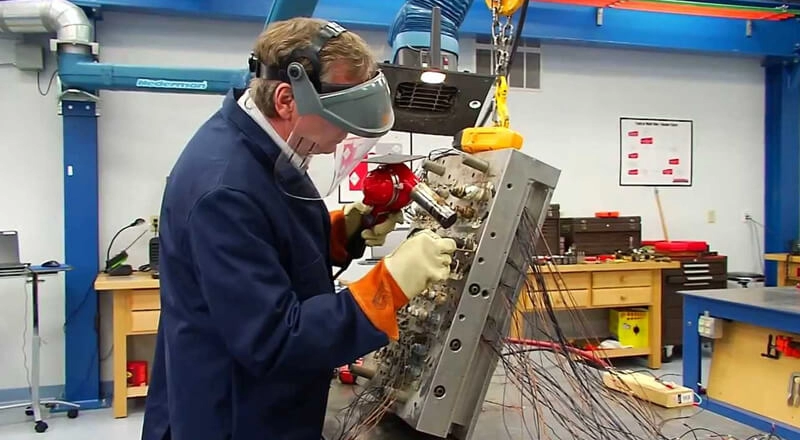
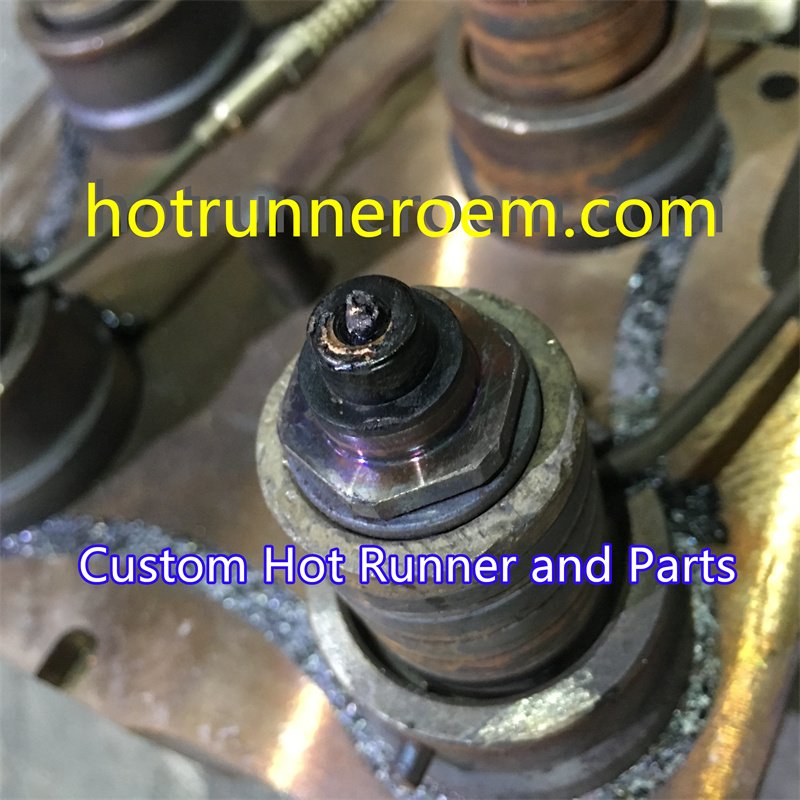
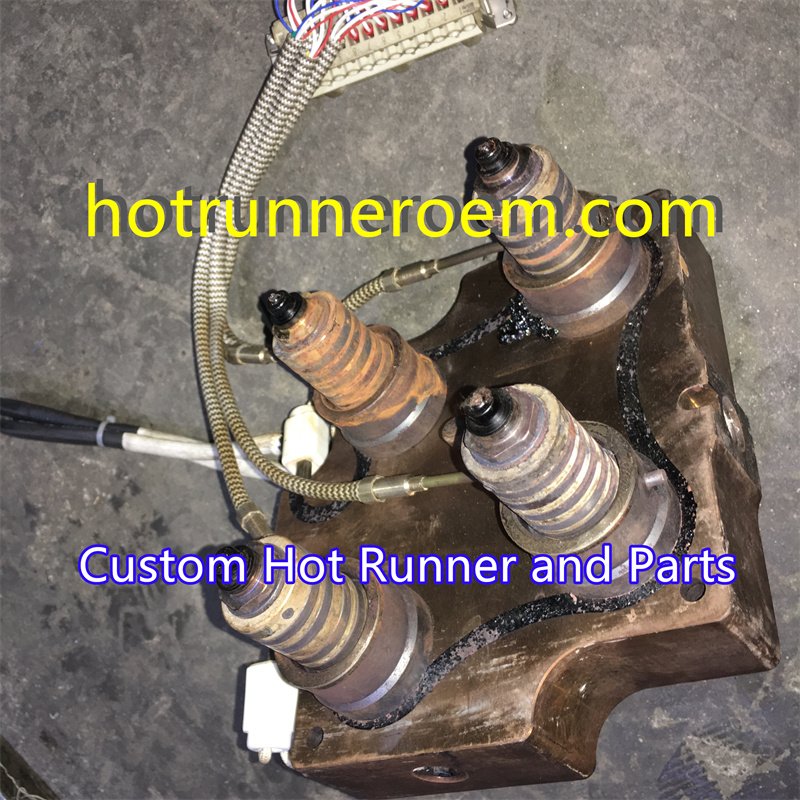
The first step in troubleshooting hot runner problems is a thorough visual and physical inspection of the system. Check for obvious signs of wear, damage, or material leakage around the manifold, nozzles, and gate areas. Look for cracks, deformities, or corrosion that could compromise performance. Inspect the nozzle tip for signs of clogging or deformation, which can cause flow issues or inconsistent gate appearance. Confirm that all seals and O-rings are intact and properly seated to prevent material leakage. This initial assessment helps identify obvious faults before moving to more detailed diagnostics.
Electrical Testing and Resistance Measurement
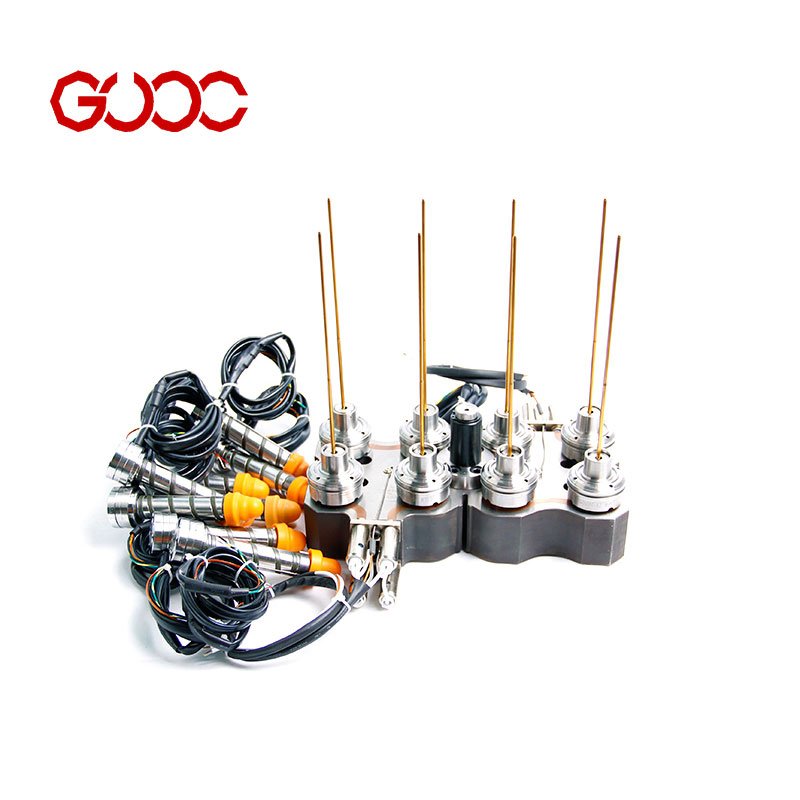
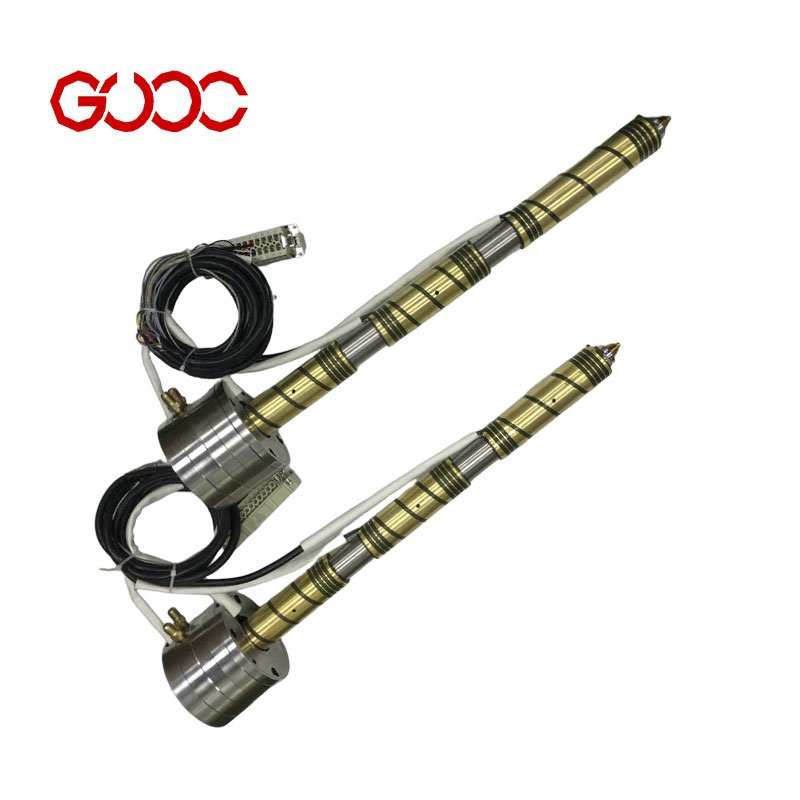
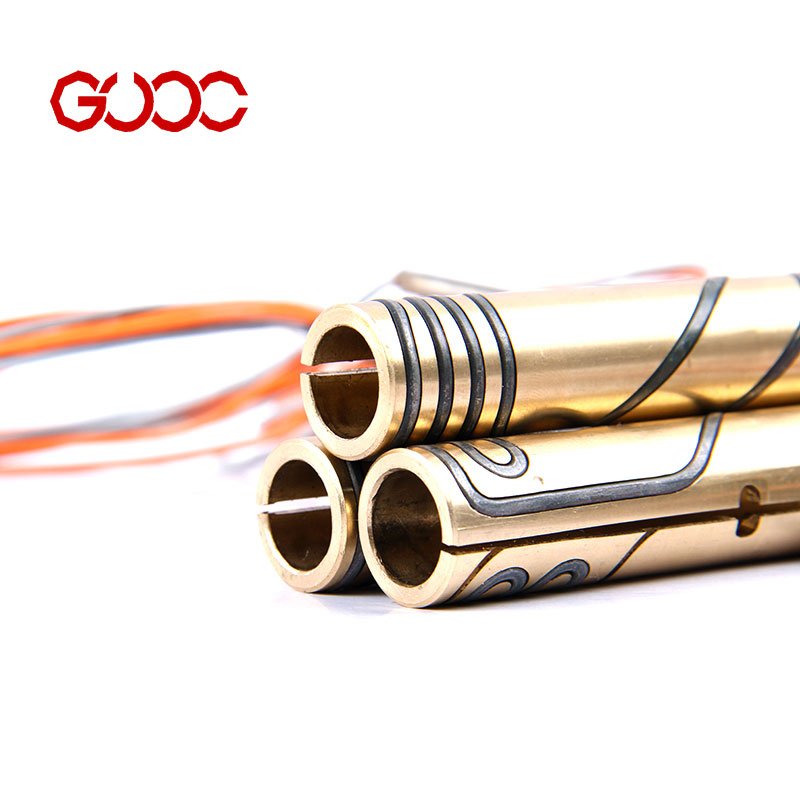
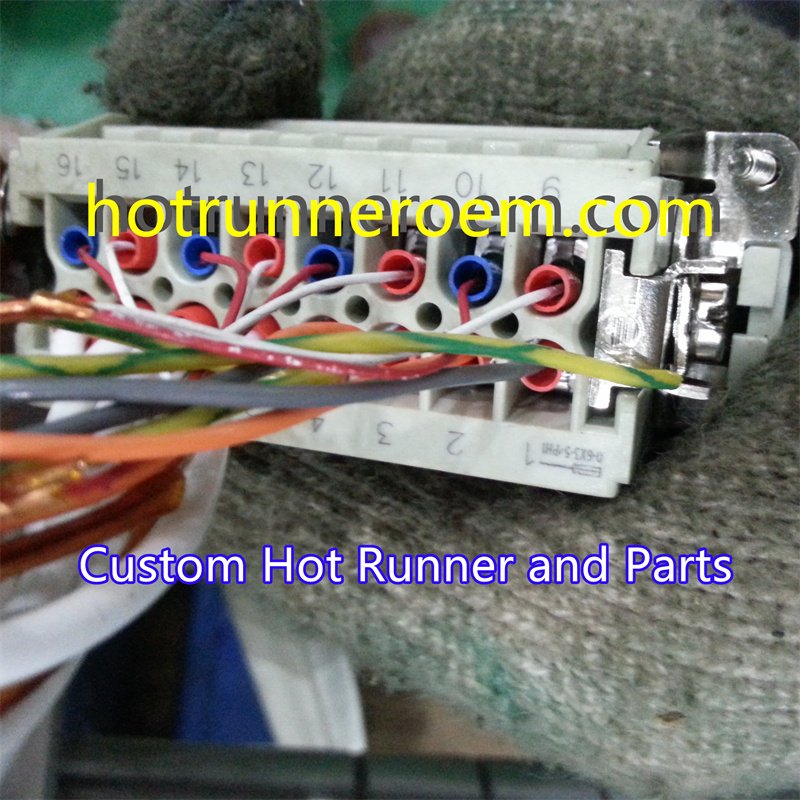
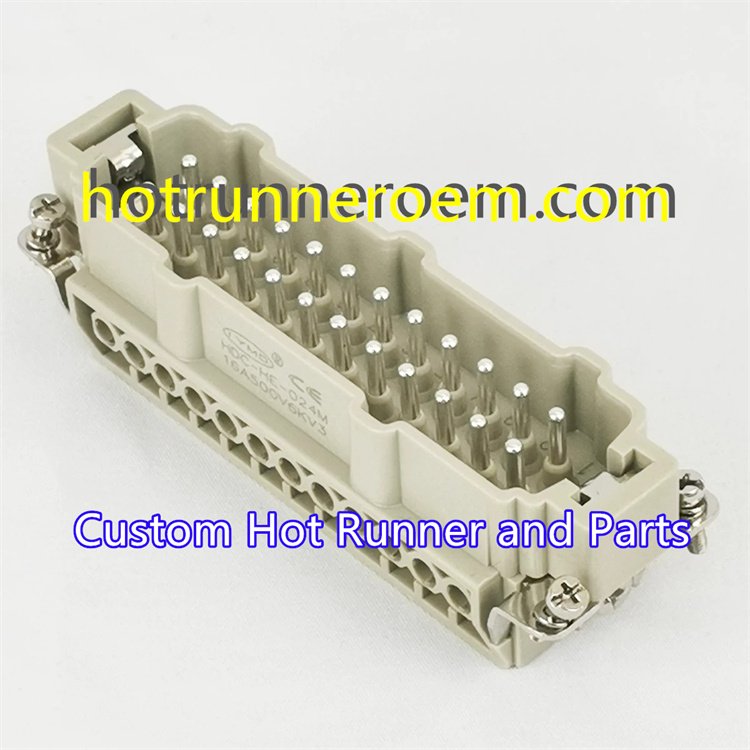
Next, perform electrical testing to identify faults within the temperature controller and heating elements. Measure the resistance (ohm reading) of heating tubes and thermocouples to verify proper functioning. A high or infinite resistance indicates a broken heater or thermocouple, while a low resistance may suggest a short circuit. Check wiring connections for loose or damaged wires, especially around the thermocouple and heater terminals. Proper resistance values are critical for accurate melt temperature control and preventing temperature fluctuations that can lead to process defects. This step ensures the system’s electrical integrity and readiness for precise injection molding operations.
Troubleshooting Temperature Control and Electrical Faults
For hot runner problem solutions, I start with the electrical side first. In injection molding, unstable melt temperature, slow heat-up, and bad gate appearance usually point to a failed heater, a bad thermocouple, loose wiring, or a weak temperature controller setup.
Heater Failure and Open Circuit Issues
- Check the ohm reading first. An open circuit or a reading that drifts too far from normal usually means the heater is failing.
- Inspect the nozzle tip, manifold zone, and lead wires for burnt marks, loose terminals, or uneven heat.
- If one zone drops out, I replace it with a tested spare part instead of pushing the system through a partial fault.
When I need matched parts, I keep the build aligned with the system design and source from the right hot runner heater and thermocouple suppliers to avoid repeat downtime.
Thermocouple Sensor Errors and Wiring Diagnostics
- Check the thermocouple connection, polarity, and cable condition.
- If the reading jumps, freezes, or does not track the melt temperature, I treat it as a sensor or wiring fault first.
- Keep the wiring protected from sharp edges, heat damage, and loose contact points.
Ground Faults and Moisture Ingress Mitigation
- Look for short circuit signs, insulation damage, and moisture inside connectors or junctions.
- Dry the system fully before restart if there is any sign of condensation or water entry.
- Check for corrosion or leakage around the manifold and cable entry points before the next run.
Controller Instability and PID Calibration
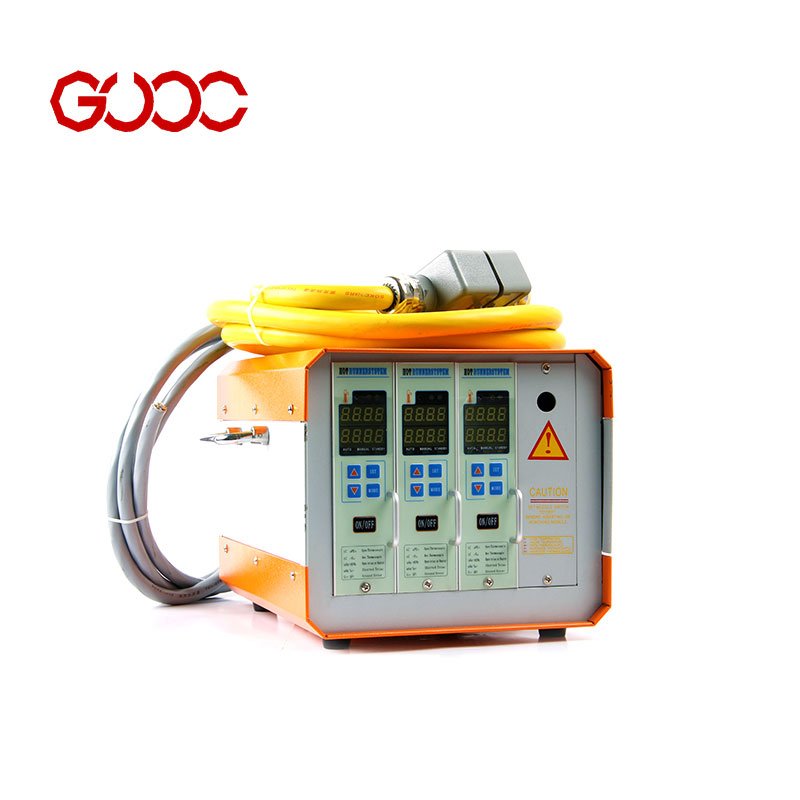
- Confirm zone settings, sensor input, and output response on the temperature controller.
- When the system hunts, overshoots, or drifts, I reset the control setup and test one zone at a time.
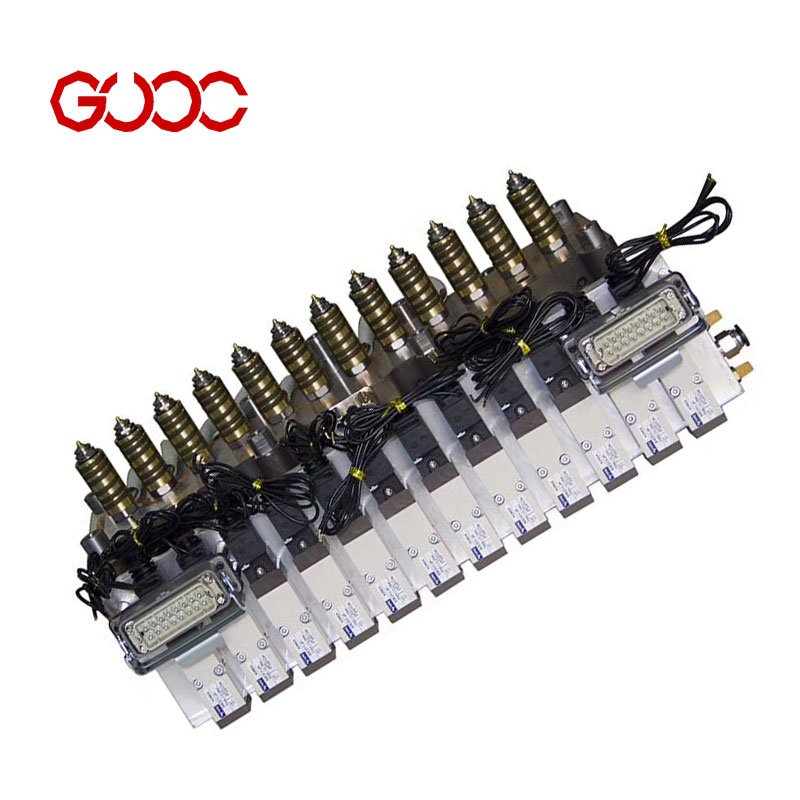
- For tighter control, I use a suitable controller setup built for stable hot runner temperature control, including multi-zone PID temperature control.
Resolving Material Leakage and Flow Issues
Manifold and Nozzle Plastic Leakage
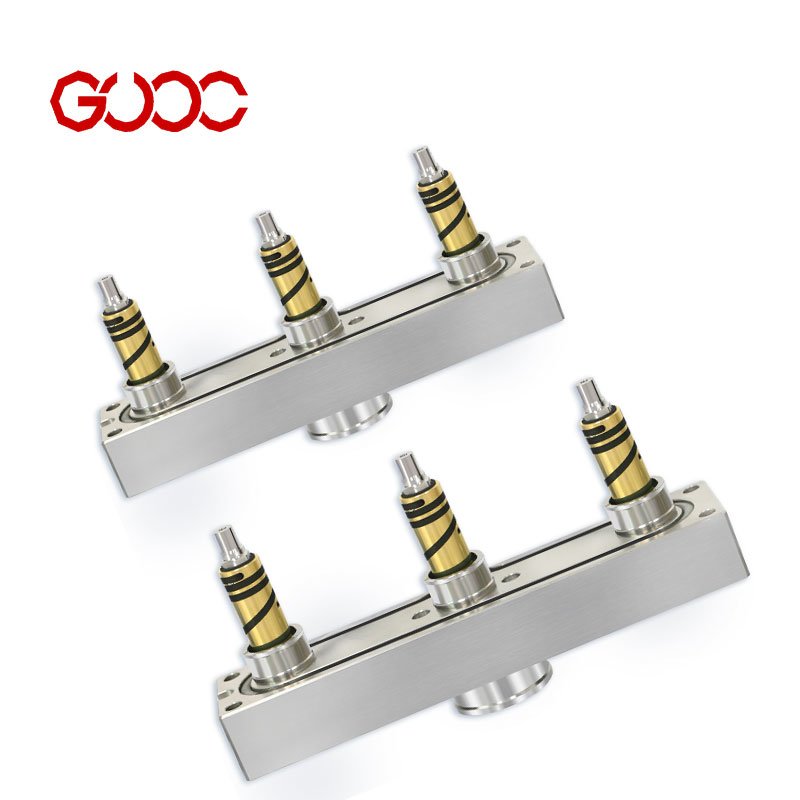
Material leakage from the manifold or nozzle tip is a common problem that can cause defects and scrap in injection molding. This leakage often results from worn or damaged seals, cracks in the manifold, or improper assembly. To prevent manifold leakage, it’s crucial to regularly inspect the hot runner system, especially the nozzle tip and sealing areas. Replacing worn seals or cracked components promptly can restore proper sealing and prevent resin from escaping. Ensuring the manifold and nozzle are properly aligned and tightly assembled also helps eliminate leaks. For detailed troubleshooting, inspecting the nozzle thermocouple wiring and the manifold connection points is essential, as loose or damaged wiring can contribute to uneven heating and leakage issues.
Gate Drooling and Stringing Solutions
Gate drooling and stringing happen when molten resin leaks out of the gate during mold opening or cooling, leading to poor surface quality. This issue often stems from excessive melt temperature, improper gate design, or insufficient cooling. Adjusting the melt temperature to optimal levels and ensuring the gate is correctly sized can significantly reduce drooling. Using a hot runner system manufacturer’s recommended gate types and designs can improve flow control. Additionally, maintaining proper temperature control of the nozzle tip and gate area helps prevent resin from stringing or drooling. Regular cleaning and inspection of the gate area also prevent buildup that can cause flow inconsistencies and defects.
Unbalanced Cavity Filling and Pressure Drops
Uneven cavity filling and pressure drops are major causes of part warping, sink marks, or incomplete parts. These problems usually result from unbalanced flow paths or pressure loss in the hot runner system. To fix this, check for flow restrictions or blockages in the manifold and nozzles. Ensuring uniform melt temperature across all channels and balancing the injection pressure can promote consistent filling. Upgrading to a well-designed hot runner system with equal flow paths or adding flow restrictors can help achieve balanced cavity filling. Regular system maintenance, including cleaning and seal inspections, prevents material buildup that causes pressure drops and flow imbalance. Properly managing the pressure and temperature in the hot runner system is key to producing high-quality, defect-free parts.
Addressing Material Contamination and Degradation
When I work on hot runner problem solutions, contamination usually starts small: a dirty nozzle tip, a worn seal, poor shutdown handling, or material left sitting too long in the channel. In injection molding, that quickly shows up as black specks, unstable gate appearance, or a rough finish on the part. I keep the fix simple: inspect the flow path, check for manifold leakage, verify heater and thermocouple readings, and replace weak parts before they affect the melt.
Preventing Resin Contamination and Black Specks
- Clean the flow path on a fixed schedule so old resin does not build up.
- Inspect the nozzle tip, seals, and manifold joints for wear or leakage.
- Check the temperature controller and thermocouple signals so the melt temperature stays stable.
- Replace damaged parts early. I keep spare parts and hot runner components from China ready for fast support when a part starts to fail.
Managing Thermal Degradation in Hot Runner Channels
- Avoid long idle time at high heat, since that can break down resin in the channels.
- Watch for signs of thermal degradation, such as discoloration, odor, or unstable flow.
- Verify ohm reading and heater condition when a zone runs too hot or too cold.
- For systems with recurring contamination, I review the full hot runner setup, from the temperature controller to the cavity balance, so the process stays clean and steady.
Best Practices for Hot Runner Preventive Maintenance
Routine Thermal Sensor and Heater Audits
Regularly checking thermal sensors and heaters is key to preventing hot runner problems. Faulty sensors can cause temperature fluctuations, leading to material leakage or gate appearance issues. Use precise measurement tools to perform ohm reading tests and verify sensor accuracy. Schedule audits every few months to catch early signs of wear or malfunction before they cause production delays. Consistent monitoring helps maintain melt temperature stability and ensures the hot runner system manufacturer’s standards are met.
System Cleaning and Seal Inspection Guidelines
Keeping the hot runner system clean is vital for smooth operation. Accumulated resin residue or debris can lead to material leakage and manifold leakage, impacting product quality. Follow a strict cleaning routine, including removing nozzle tips and inspecting seals for wear or damage. Replace worn seals promptly to avoid gate drooling or flow problems. Regular cleaning not only prolongs system life but also reduces the risk of costly injection molding defects.
Proper Shut-Down and Maintenance Protocols
A proper shut-down process helps prevent thermal shock and damage to components. Always turn off heaters gradually and allow the system to cool down safely. Inspect wiring and connections for moisture ingress or short circuits, especially in humid environments. Implement a maintenance schedule that includes checking thermocouple wiring and verifying PID calibration for temperature controllers. Consistent adherence to shut-down and maintenance protocols reduces downtime and keeps your hot runner system running at peak performance. For detailed cleaning procedures, visit hot runner cleaning guide.

 English
  Spanish
  French
  Portuguese
  Italian